I’m going to the States soon and have been looking at booking up some restaurants while I’m away. In particular, I wanted to book for Cheesecake Factory, but when I went to do so, I found I could only do that if I registered. Fair enough, so I went to the registration page. I discovered that you needed a US mobile number that they could text a code to. 🙁

I suspect that at this point most would have given up and joined the wait line at the restaurant but not me. I needed a solution to this pressing problem and then I remembered Twilio.
Twilio is a communications platform for developers allowing sending and receiving of emails, SMS and voice calls at scale. I knew from a past life that you could rent numbers from many countries including the USA so this was the solution I was sure.
Obtaining a number
The first thing I should say is that I find the Twilio interface obtuse and not very user friendly. When you login you are presented with a large blank area with an empty menu on the left. It’s really not clear where to begin. However, in the steps below I’ve included links that should take you to exactly where you need to be.

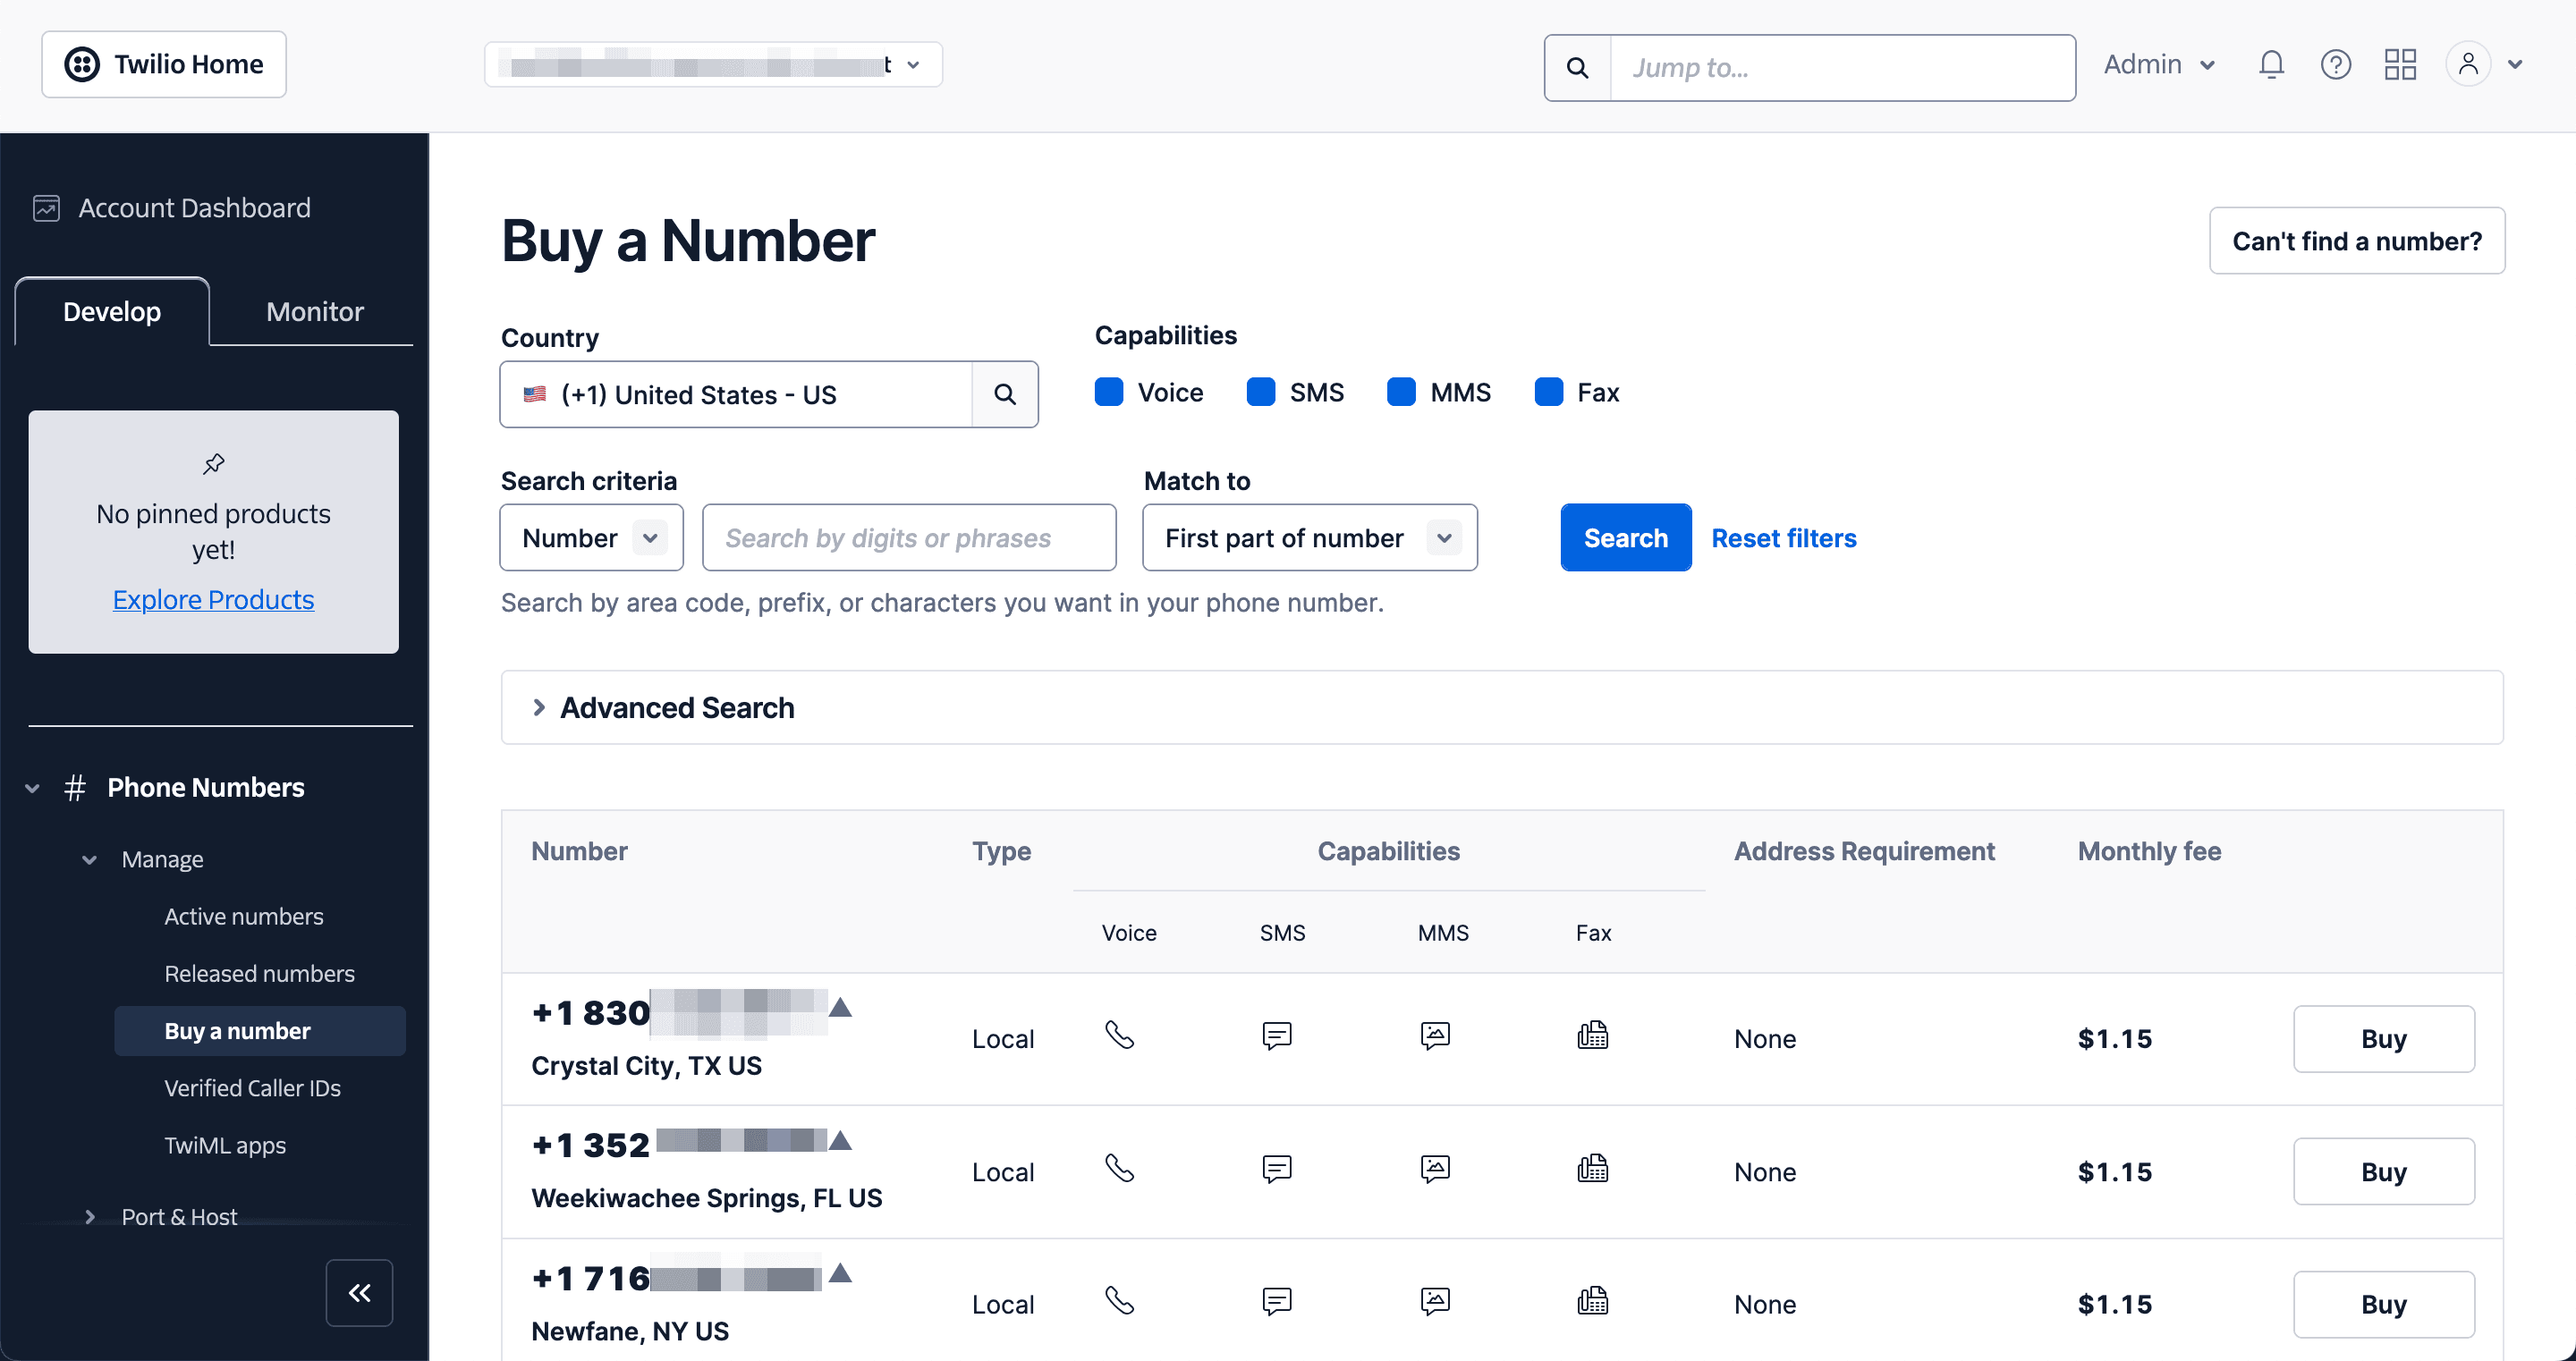
I am assuming that you already have a Twilio account at this point. Once in, you need to find a suitable number by carrying out a number search. I was particularly looking for a US number, but this equally applies to many other countries that Twilio supports. It doesn’t really matter which area of number you choose, just so long as it supports SMS. You can filter on this to make sure.
Go ahead and purchase your number.
Create a Messaging Service
Next step is to create a messaging service for your number. Start by going to this page and click the “Create messaging service” button. Give the service a name and select “Not listed here” from the use dropdown. I then skipped the next three steps so I guess you can too.

At this point you should be able to send a test SMS message using your new number.
Forwarding Incoming SMS
Now that you have secured your number and configured it you need to forward any incoming texts to your own number. You could do this by associating a webhook with the number but by far the easiest way is to create a Flow using Twilio Studio. Head on over here and click the “Create new flow” button. Give your flow a name and then choose “Start from scratch” from the options on the next page. The blank flow page will open looking similar to the following:

Create a Trigger and Add a Widget
Next, you need to associate an action with the trigger. Click on the blob below the Incoming message lozenge. Then, from the Widget library that appears on the right, select “Send Message” from the Messaging group and drag it below the Incoming message lozenge. Finally, click on the blob again and drag it to connect to the Send Message action. You can see this in action below:

Configure the Widget
Click on the Widget that you have just connected to the Trigger. In the grey panel on the right you can change the Widget name if you wish then scroll down and paste the following into the Message Body field:
From: {{trigger.message.Body}} : {{widgets.send_message_1.inbound.Body}}
Scroll to the “Send Message To” field and enter the receiving number here. This is your local, UK in my case, number that you want the text message to be forwarded to.
Associate the Phone Number with your Flow
Now we need to link the phone number you purchased above with the flow we have just created. To do this click on the Trigger and in the grey panel on the right and scroll to the Phone Numbers section. Here you will see a link to Manage Phone Numbers. If you click this it will take you away from the Flows page so I recommend you right mouse click this link and open it in a new tab.

Scroll down to the Messaging Configuration section. Select the Messaging service name you created above (there probably will only be one and it will be pre-selected). Next make sure that you choose “Webhook, TwiML Bin, Function, Studio Flow, Proxy Service” from the Configure with selection. Finally choose “Studio Flow” from the “A message comes in” drop down and then the name of your flow from above. Save the configuration.

You’re all done
At this point everything is setup and any SMS messages sent to your Twilio number should be forwarded to your local number. As you can see I struggled sending a message TO my Twilio US number but that turned out to be because my provider doesn’t allow messaging to a non-local number. However, at the very end of the message trail you will see me receiving me verification code from The Cheesecake Factory – job done!

There is a cost in doing this but to date my one message plus tests has cost me the grand total of $1.3211. I can live with that in return for a guaranteed table booking! 🙂