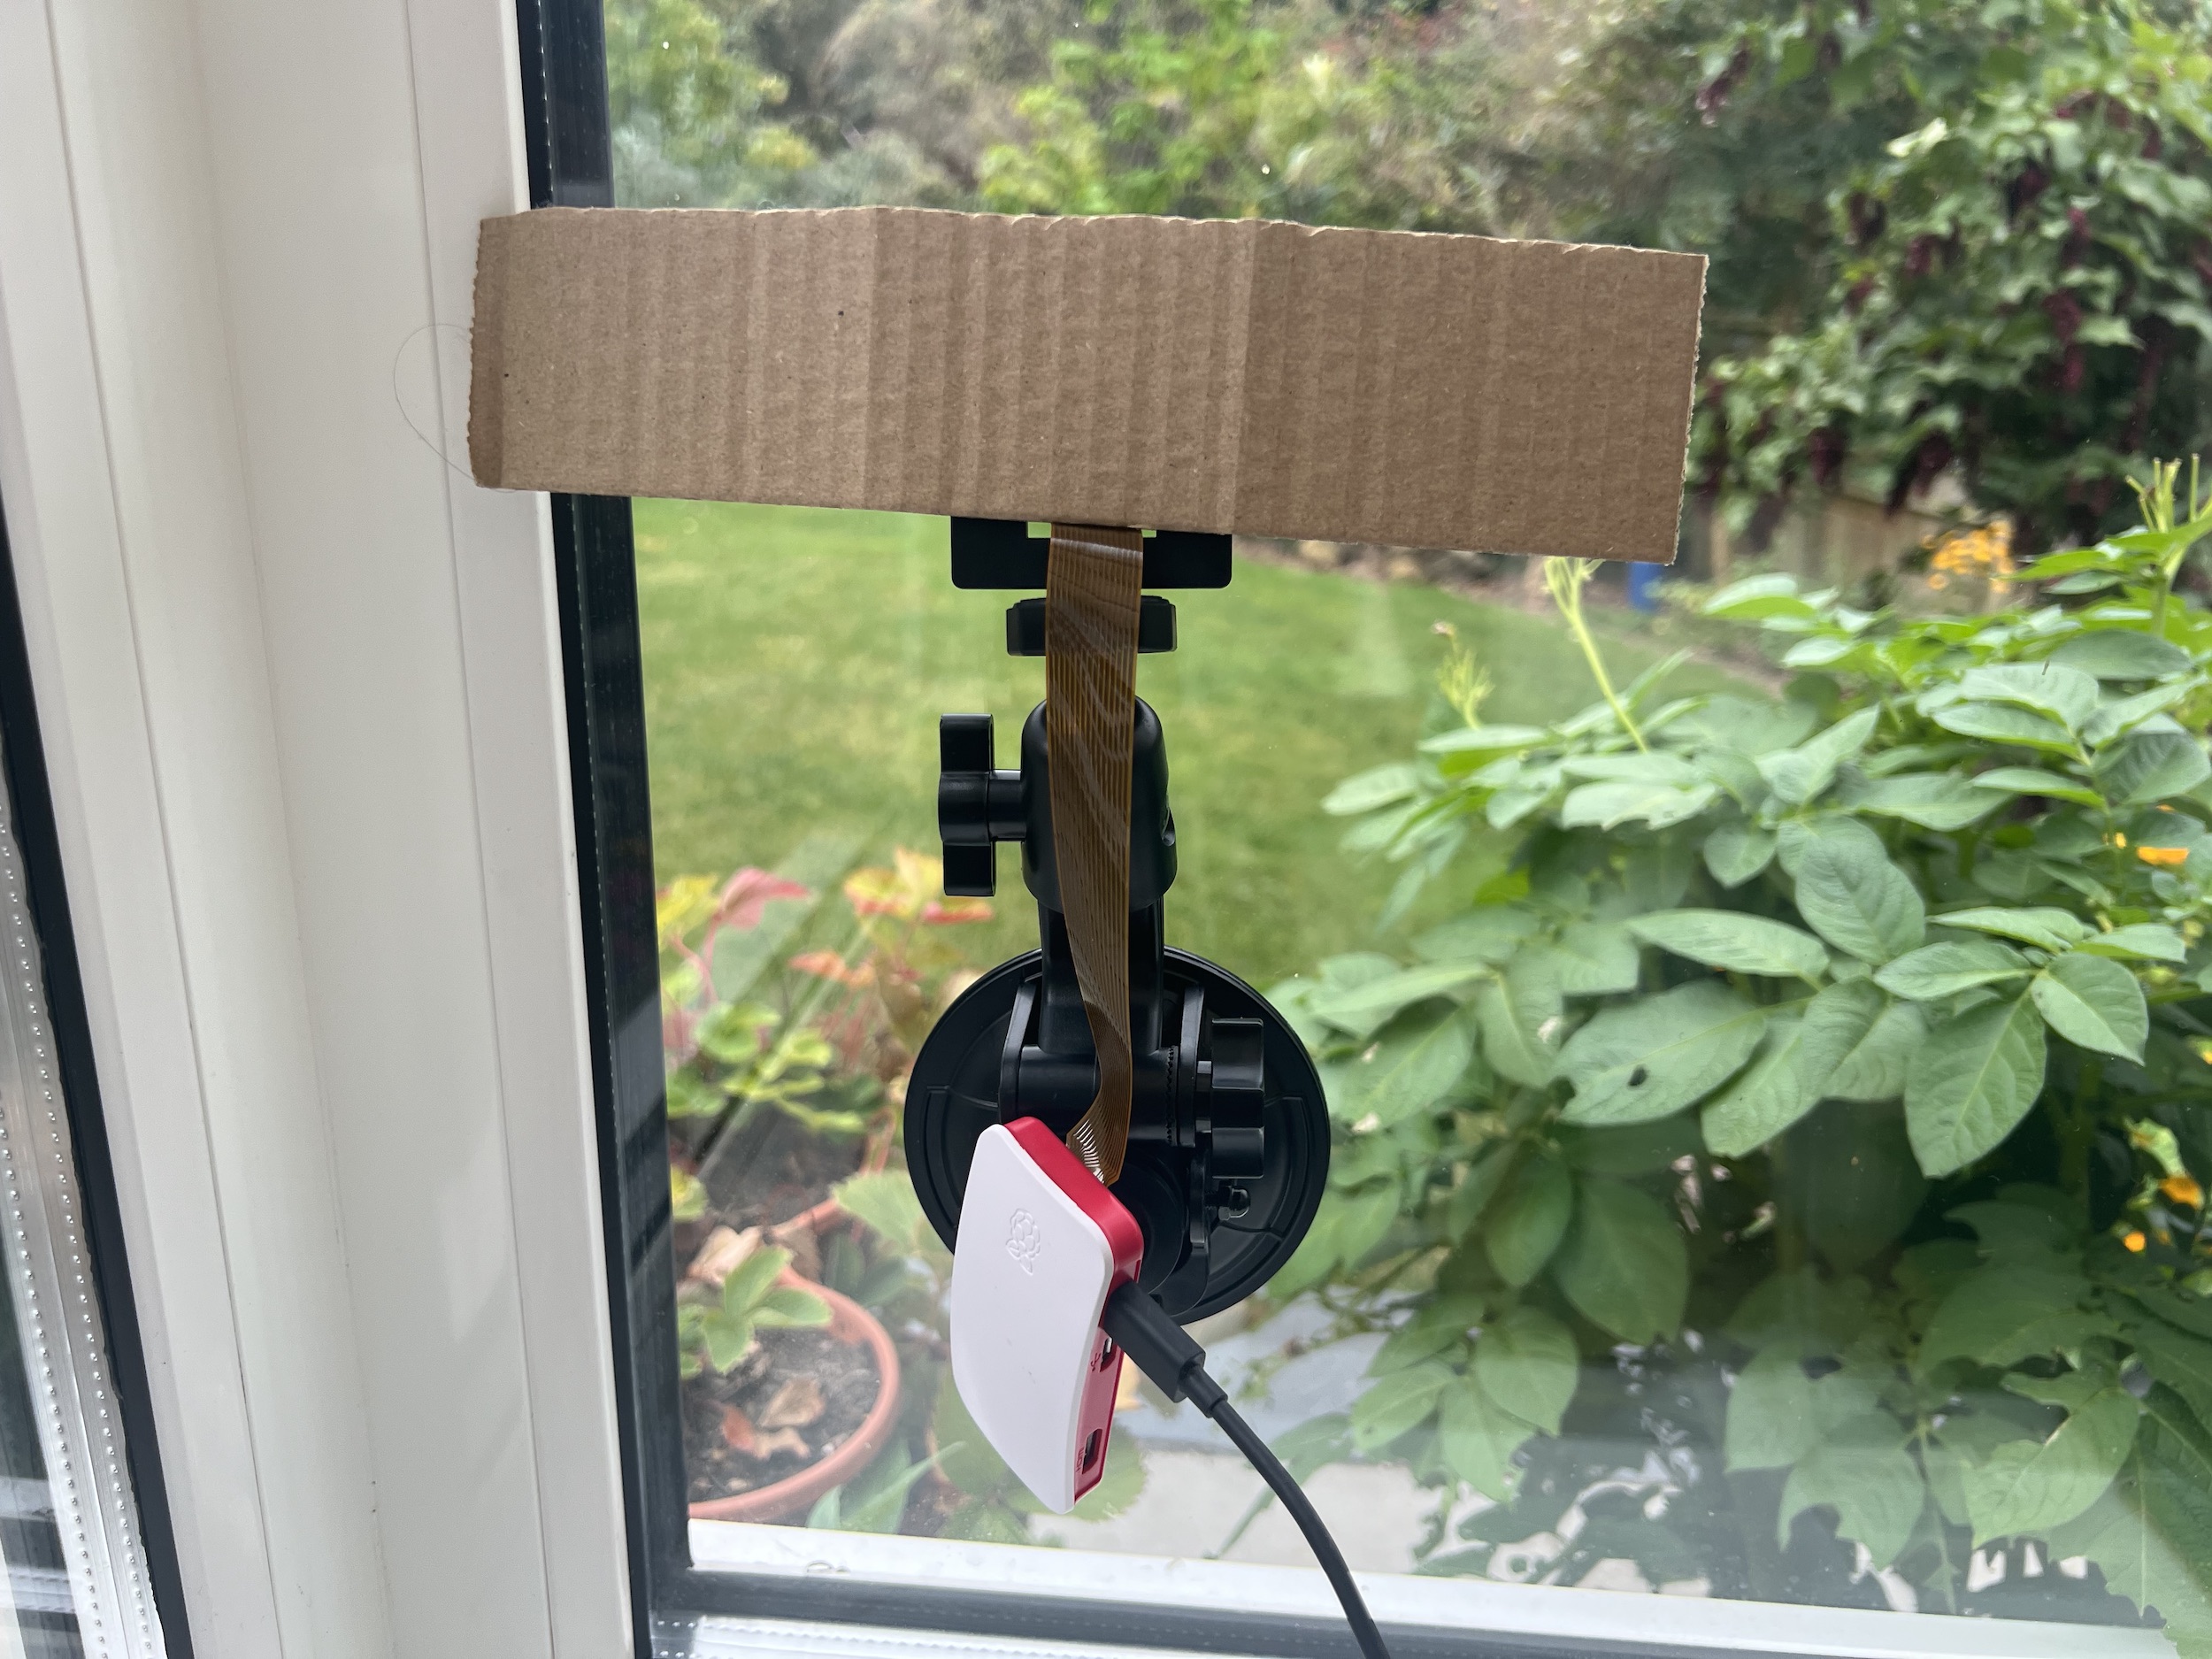
Last January I wrote about the Raspberry Pi Camera that I had set-up to take hourly pictures of my garden which I then turned in to a time lapse video. You can read about that and see the resulting videos and code here:
One of the things that I said at the time I wanted to do was to do a video that cover the whole year. Now that 12 months have passed since the first snaps taken I am in a position to do so.
Getting the Pictures
Like before I started by trying to download all the images, some 8,760 directly from the RPi but that really struggled with both zipping them all up and transferring them out. Therefore, I sought to get them via a different route. Rather than solely relying on storing the images on the RPi itself they also get copied to an AWS S3 bucket so I went to download from there.
There doesn’t seem to be a way of downloading a whole bucket so I did it programatically. Well, I say me but I actually got ChatGPT to write the code. It took a couple of goes, the first attempt had no pagination and I had more than the 1,000 image download limit, but on the second the code worked straight away. This is what I got:
<?php

    error_reporting(E_ALL);
    ini_set('display_errors', 1);
    require __DIR__ . '/aws/aws-autoloader.php';

    use Aws\S3\S3Client;
    use Aws\Exception\AwsException;

    // create link to S3
    $s3Client = new Aws\S3\S3Client([
        'region' => '<your AWS region>',
        'credentials' => [
            'key'    => '<your AWS key>',
            'secret' => '<your AWS secret>',
        ],
         'version' => 'latest'
        ]);

    $bucket = '<your AWS bucket>';
    $destinationFolder = '<Local folder to store images from AWS>'; // Local folder where files will be saved
    $continuationToken = null; // Used for pagination

    do {
        $params = [
            'Bucket' => $bucket,
            'MaxKeys' => 1000, // Maximum number of objects per request
        ];

        if ($continuationToken) {
            $params['ContinuationToken'] = $continuationToken;
        }

        try {
            // List objects in the bucket with pagination support
            $result = $s3Client->listObjectsV2($params);

            // Loop through each object and download it
            if (isset($result['Contents'])) {
                foreach ($result['Contents'] as $object) {
                    $key = $object['Key'];
                    $saveAs = $destinationFolder . basename($key); // Local file path

                    // Download the object
                    $s3Client->getObject([
                        'Bucket' => $bucket,
                        'Key'    => $key,
                        'SaveAs' => $saveAs,
                    ]);

                    echo "Downloaded: {$key} to {$saveAs}\n";
                }
            }

            // Check if there are more objects to retrieve (pagination)
            $continuationToken = $result['IsTruncated'] ? $result['NextContinuationToken'] : null;

        } catch (AwsException $e) {
            echo "Error: " . $e->getMessage();
        }

    } while ($continuationToken);
?>
Note that you will need the AWS SDK setup and installed. I have just downloaded it but you could just as easily use composer.
Post-Processing
Now I had all the images I could begin to manipulate them as described in the previous article: remove the images from overnight which are black, add a date stamp to each image, string all the images together into one video file and, finally, add some background music.
This was all fairly straightforward as I was able to use the same code as I had described in the previous article. What I hadn’t banked on, however, was just how long each stage would take. My MacBook has now been processing for approximately eight hours (over all the steps) and we’re not done yet. So, if you go down this road be prepared for a long wait.
The question is was the final result worth it? I’ll let you be the judge of that (be warned it runs to an hour and 15 minutes!):
If you don’t fancy the whole one hour 15 minute director’s cut here’s a five minute version that just includes the midday image:
Conclusion
I said in the previous post that I wanted to improve the night time images and I had imagined that I would do that by changing the tolerence on the existing camera but what I have actually done is bought this night vision camera instead. I now just need some time to get it setup. I’ll report back once it is up and running.