I’ve long been an admirer of the Raspberry Pi, but until very recently, my usage has been limited to mostly Pi Zeros, which I control from the command line. As part of my teaching Scratch I found that it could control hardware which paired with a Pi so I thought I’d give that a go and it all snowballed a bit from there!
Firstly, I couldn’t do what I wanted with a Zero, so I bought a second-hand 4B 4GB (which turned out to be only 2GB, but that’s another story) and installed a desktop. I found it painfully slow which was a combination of the lack of RAM and that the bluetooth perhipherals seemed to clash with the WiFi causing it to crawl. However, the biggest issue was trying to use it sat on the floor with it connected to my TV. That was not a very good experience.
Enter the Raspberry Pi Monitor
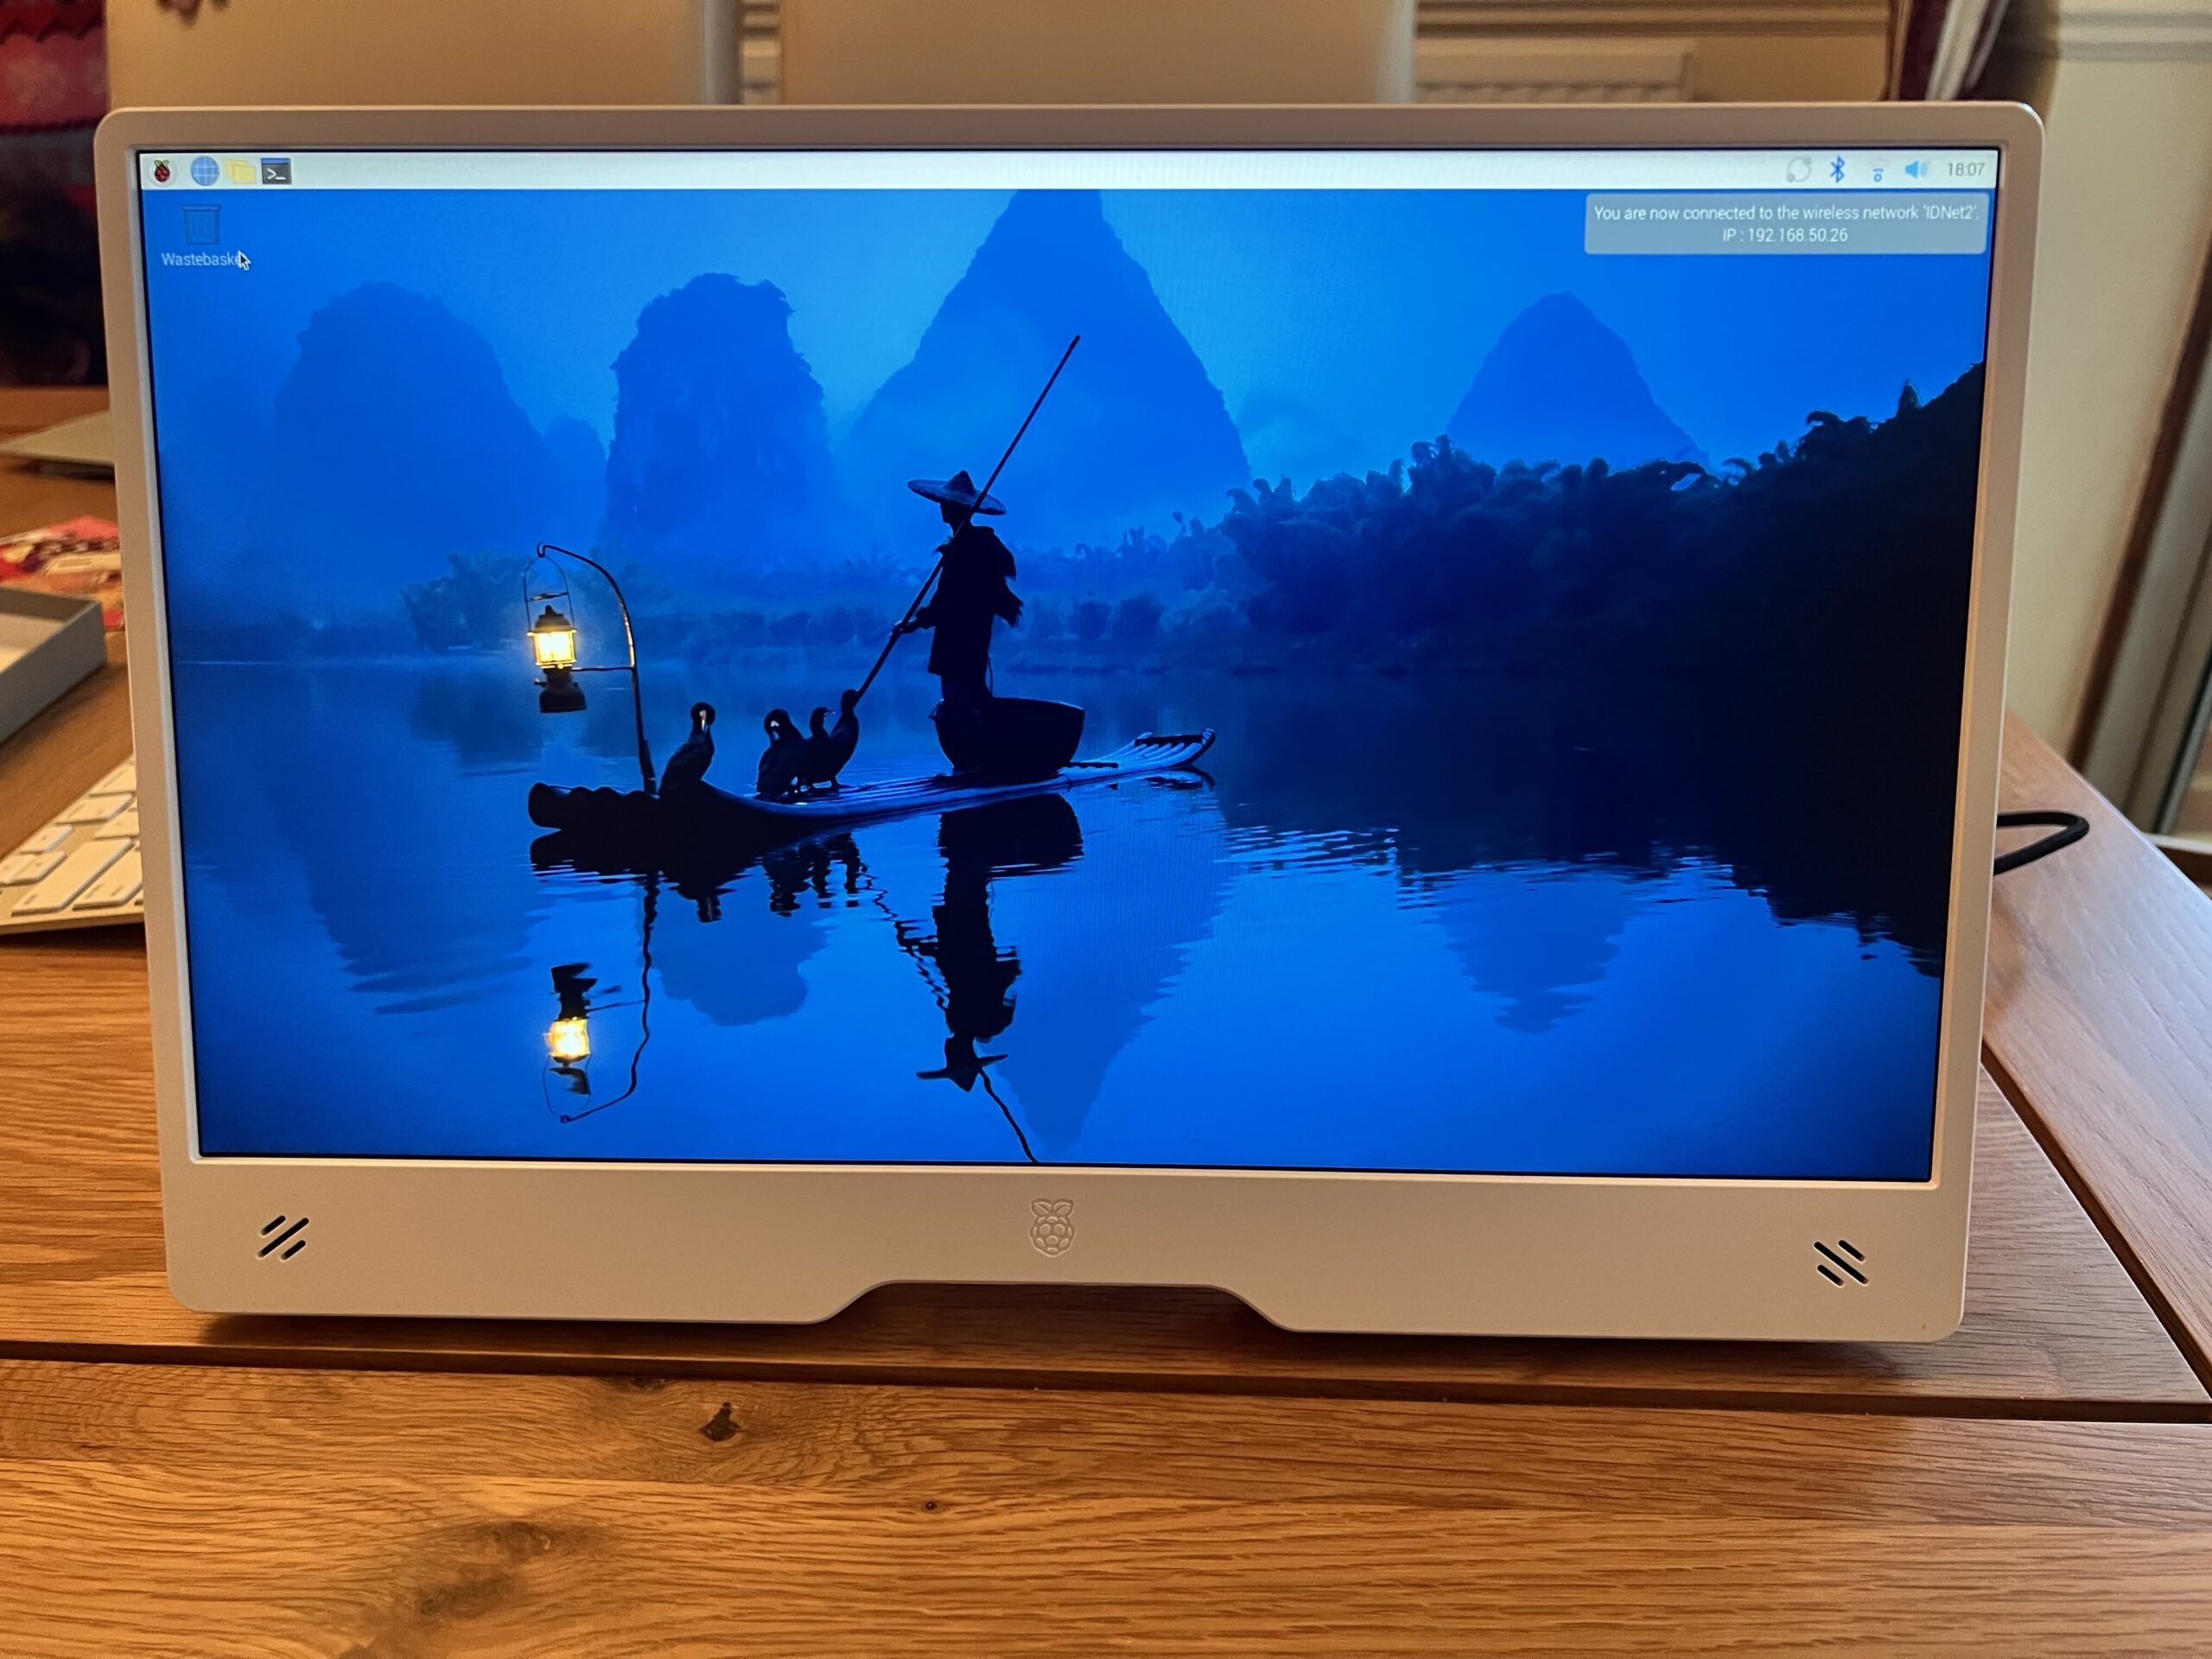
Around the time I was getting the Pi the Raspberry Pi Foundation (well their commercial arm) announced the release of a 15.6″ monitor which seemed perfect for what I needed. I duly placed an order with the ever reliable PiHut and it arrived just a couple of days later.
Minimally packed with just the screen itself, in corporate Raspberry Pi colours, a USB-A to USB-C cable and a brief booklet. You can see the unboxing in the images below. The USB cable is provided as you can actually power the monitor directly from the Pi itself, which is neat. There are a couple of limitiations when doing this, the sound and the brightness are both limited to about 50% of their maximum values but you really won’t notice the difference. To be honest the sound from the speakers is pretty tinny so you might even welcome the restriction!
In use the monitor performs well being bright and responsive and, of course, having an HDMI connection it’s not limited to use with just a Raspberry Pi. I tried it with both an Amazon Fire Stick and with my iPad Mini connected and it worked well. It makes a great screen for watching content in a second room, for example.
The virtually infinitely adjustable kickstand at the back makes watching at any angle really easy which is particualrly important when you are working in tight spaces as you might be with a small device such as this. If you would like to mount your Pi on the back of the screen that’s possible too. Rakoon Design’s have created a couple of 3D printed designs that allow you to mount a Pi or Pi Zero to the back via the VESA screws. However, there are a couple of downsides to this: firstly, it blocks the kickstand so you can only use the screen in one fixed position, and secondly, the Pi itself is a bit exposed. Nevertheless, it’s pretty neat.
Conclusion
I really like the Raspberry Pi Monitor. It works well with the Pis as you would expect, and the ability to power directly from the Pi is a bonus. Screen quality is excellent, and it is light and very portable. It also can be used with other HDMI devices, too, so it’s not just a one-trick pony.
Pros
- Great, portable form factor
- Can be powered from the Pi itself
- Multi-position kickstand
Cons
- Very tinny sound (although does have a 3.5mm jack)


One comment on “Raspberry Pi Monitor”